
10DLC registered text campaigns allow you to safely and effectively reach your marketing subscribers.
With message and image content secure behind an age-gate that verifies the customer's birthday against your POS or opt-in form records, you can advertise products, deals, and events without having to censor your content!

Creating & sending text campaigns
Once you have your target audience selected - whether it is from a Key Opportunity, Saved Opportunity, or custom group from Advanced Targeting - you can send a message to your subscribers!
1. Choose to send as SMS or MMS
You can send your campaign as either an SMS text (1 credit) without your logo or as an MMS text (3 credits) with your logo.
Sending an MMS text that includes your logo can help with brand recognition and makes your campaign stand out to recipients.
2. Select your templated text message body
Choose from several approved templated text messages, which will include your clean company name and a link to view the campaign content.
.png?width=594&height=159&name=Untitled%20design%20(13).png)
3. Upload your campaign image
Both SMS and MMS campaigns can include an image or flyer at no extra cost!
No need to censor or disguise your cannabis content - you can include pictures of products, advertise deals, and share product menus without filtering!
You can upload JPG, JPEG, and PNG files. For image dimensions, we recommend 600-1080px wide and any length. The maximum file size is 10MB.
Your image can be a GIF!

4. Write your campaign body text
Write up to 1,000 characters for the campaign text that will display below your image.
As with your image, feel free to use "prerolls," "vapes," "live rosin," and any other language needed to describe your products, promotions, events, and more!

5. Include (or toggle off) your campaign CTA URL
Link to any website as your final call to action for the campaign, or toggle this off if desired.
Examples for your call-to-action URL:
- A product or brand on your online menu
- Your locations page on your website
- An event registration form
- To leave a Google review of your store

6. Schedule your campaign
Once your message is written, schedule the campaign date, time, and repetition settings (if applicable).
Campaign date:
Use the calendar to select the day you'd like your campaign to send. You can schedule campaigns up to 1 year in advance!

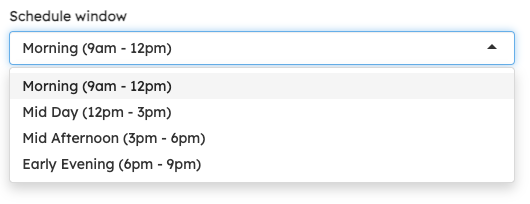
Time window:
Select the time window you'd like your campaign to send in. The scheduler is based on your current local timezone and allows you to schedule within TCPA-compliant send times.
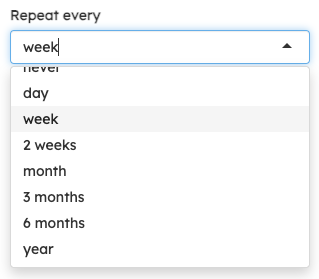
Repeat every:
Last repetition date:
If you've scheduled you campaign to repeat, use the calendar to select the last day you want this campaign to run. This defaults to 1 year from the date of scheduling.
If you are not sending a recurring campaign (i.e. Repeat every = never), no action is needed.

7. Prepare, test, and send your campaign
Click 'Prepare target message' to get a preview and summary of your campaign prior to sending.
In this pop-up, you can review the message template, campaign image and body text, number of customers you are targeting, number of credits your campaign will use, the length of your message, and scheduled send time (plus any repetition information).
Before sending, you can test your campaign by sending a preview directly to any phone number.
Click the + icon to the right of 'Test Campaign' to open this box. Type in a phone number, and hit 'Send Test' to get a copy.
From the campaign preview, use the 'Test campaign' function to send yourself or a team member a live test message by inputting a phone number and hitting 'Send test.'
Be sure to use the test campaign birthday of 7/20/1969 to view the test message!
.png?width=500&height=200&name=Untitled%20design%20(16).png)
After reviewing the campaign preview and test message, clicking 'Send Messages!' in the bottom right corner will queue this campaign to be sent to your selected audience at your scheduled time!
8. Confirm campaign scheduling
Once you've clicked 'Send Messages!' to schedule your campaign, you can confirm it has queued correctly by clicking 'See Campaigns' on the left navigation, then selecting 'Scheduled Campaigns' and 'Refresh Schedule' to pull in the campaign data.
If you've made a mistake, you can easily cancel the campaign by clicking to highlight it and then selecting 'Cancel Campaign' above.
Within roughly 24 hours after sending a campaign, your ROI results will begin to roll in on the Sent Campaigns page - learn more about campaign results here!